The Powell Peralta Triple P logo is an excellent example of a minimalist, geometric logo constructed with a grid. The history of the “triple p” logo dates back to the late 70s, when it appeared in the Britelight and Beamer decks. In 1980, it was used on Jay Smith’s signature deck.
In this tutorial, we create a vector version of the Powell Peralta logo and learn about geometric grid logo design in the process.
I use Inkscape in this logo tutorial.
Let’s begin!
Get Your Free Guide
Design Fundamentals for AI Creators
Learn how to use AI tools like a creative director, not just a prompt writer.
Discover the essential design principles that make your AI-generated visuals look professional, balanced, and brand-ready.

A. Create the Grid for the Logo
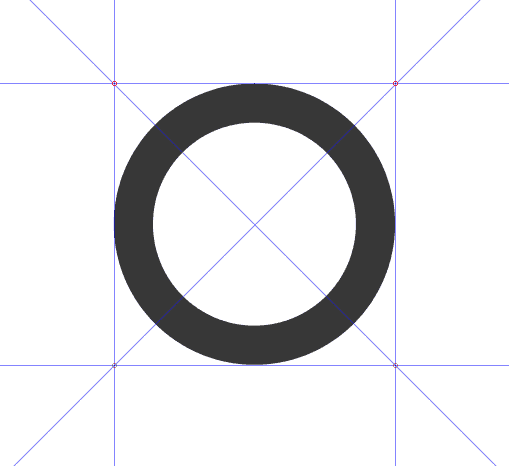
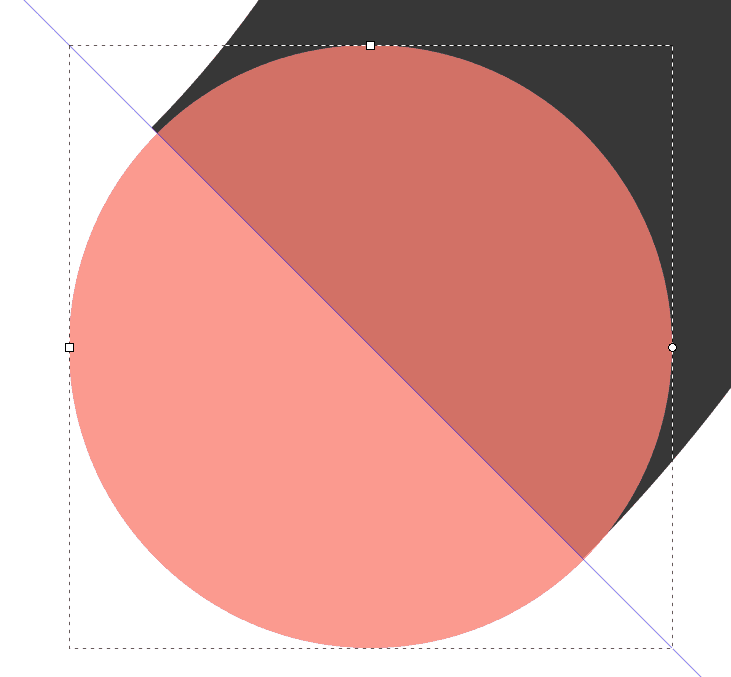
Step 1: Create a Perfect Circle
Select the Circles and Ellipses tool, then press the CTRL + SHIFT keys. Click and drag to create a perfect circle.
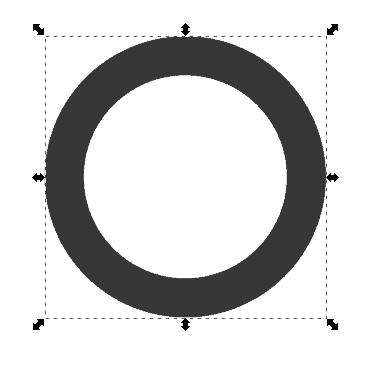
Give the circle a stroke width of 25 pixels.
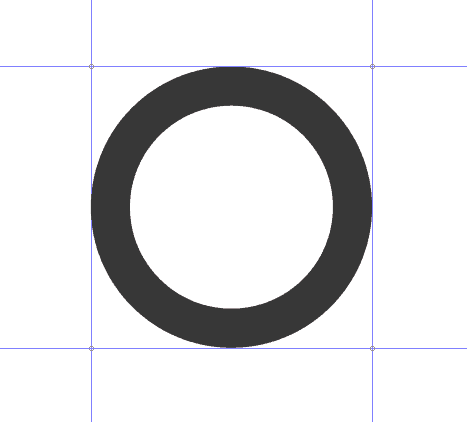
Step 2: Create Guides from your Circle
Duplicate your circle by selecting it, then clicking CTRL + D.
Now, while selecting your duplicated circle, select Object > Objects to Guides.
Now your circle has been converted to guides that will serve as your grid.
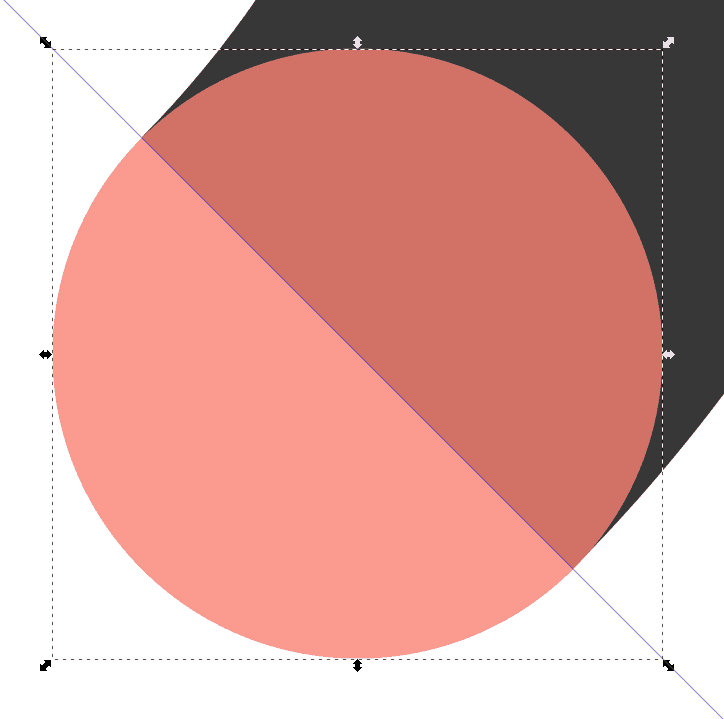
Step 3: Create Diagonal Guides
Now, create diagonal guides by dragging from the top left corner of your canvas:
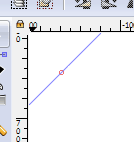
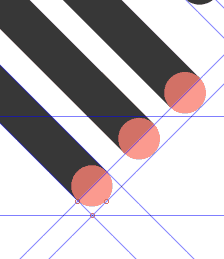
Drag the guide across the canvas and place it crossing your circle diagonally, from the top right to the bottom left.
Make sure the guide aligns perfectly with the top right and bottom left corners of the “square” guides encompassing your circle.
Do this by enabling Snapping > Snap to Guides (located at the far right of the canvas). Move the tiny red circles in the guide to snap into the corner perfectly.
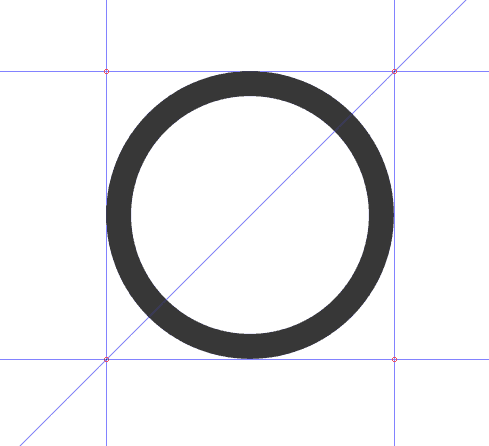
Now, create another diagonal guide in order to create a cross spanning from the center of the circle.
To do this, create a diagonal guide, as shown above, but now press the SHIFT key to rotate the guide.
Align with the top left, bottom right corners, applying the same method used for the previous diagonal guide.
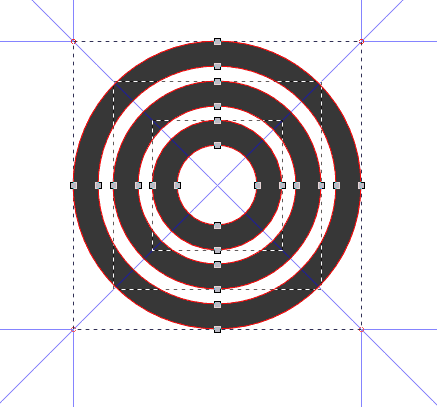
B. Create the Inner Circles of the Powell Logo
Step 1: Create the Triple “P” Circles
Duplicate that circle you first created by selecting it, then pressing CTRL + D. Apply another stroke color to it and change its stroke width to 15 px.
Now, with your Select tool, while pressing CTRL + SHIFT, scale down the circle by dragging it by the bottom right corner arrow toward the center of the circle. Scale down until the outer edge of this circle just touches the inner edge of the larger, original circle:
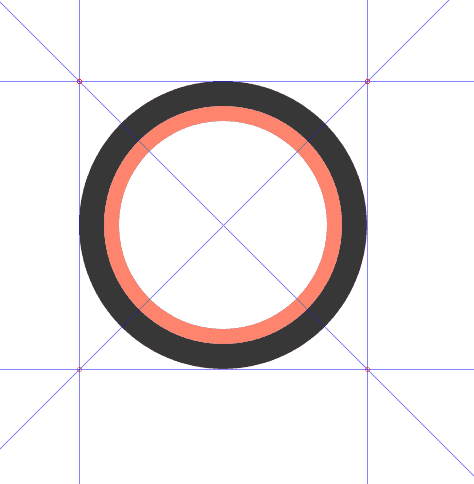
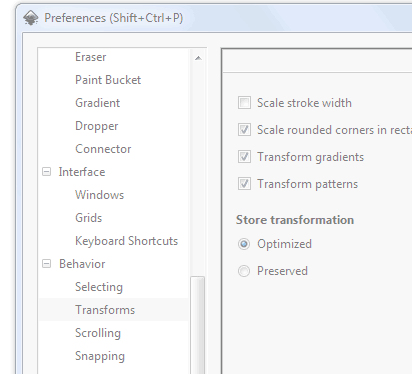
TIP: Make sure that Scale Stroke Width is not selected in your Inkscape preferences (Behavior > Transforms) for this exercise.
Also, I find that not dragging in a continuous way (by clicking intermittently) allows Inkscape to show the true pixel size of the stroke as I scale down.
Step 2: Repeat for the Other “P” Circle Shapes
Select and duplicate the black circle, then scale down.
Next, select and duplicate the red circle and scale down, applying the same technique as above:
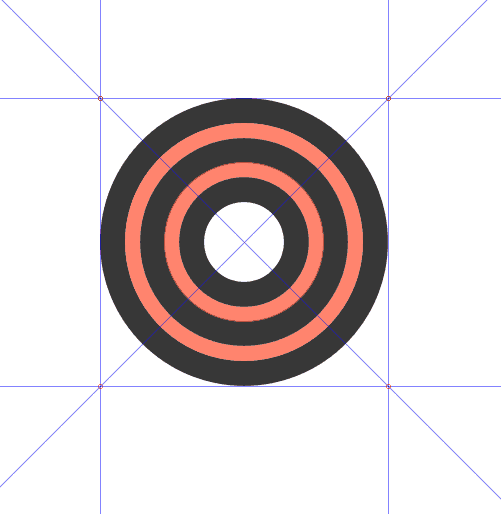
Go ahead and delete the red separator circles.
Finally, select all three black circles and then convert them to path by going to Path > Stroke to Path. Our circles now have a node structure like this:
Step 3: “Cut” Circles for the Bottom Part of Logo
With your Pen tool, draw a triangle along the bottom triangle base formed by the guide intersections. Be sure to enable Snapping > Snap to Guides, to neatly draw your strokes.
With the Select tool, make sure the triangle snaps snugly within the triangle guide structure:
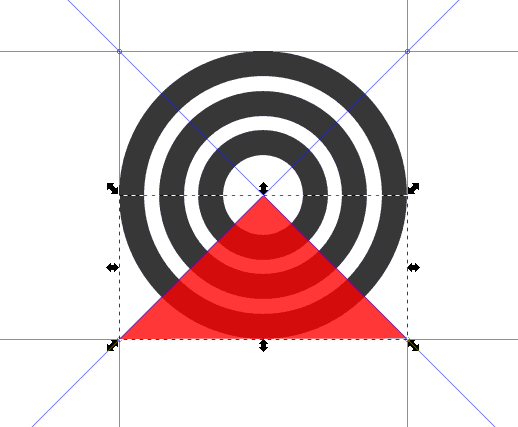
Duplicate your triangle.
Now, let’s cut each circle one by one:
Select the inner, smaller black circle and, pressing the SHIFT key, also select the duplicate triangle. Apply Path > Difference.
If your triangle is transparent enough, you will see that you have made a “cut” in your circle according to the triangle part touching it:

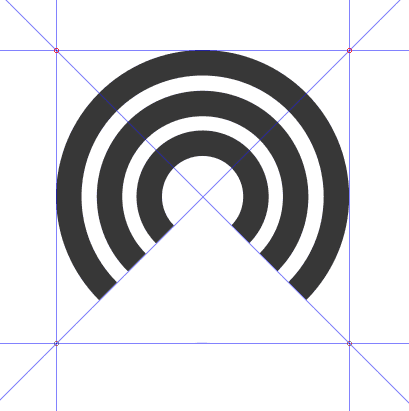
Duplicate your circle once more, and “cut” the second, center circle applying the technique above.
Finally, use the remaining triangle to “cut” the larger outer circle.
Your circles should now look like this:
C. Create the Bottom Part of the Logo
Step 1: Create Bottom Logo Grid
Create a square surrounding the larger outer circle within the square formed by the intersecting guides. Enable Snap to Guides so that the square fits snugly within the square frame.
Make sure the stroke width of the square is 25px, like your circles. Also, make sure the stroke paint has transparency (so you can see what’s going on).
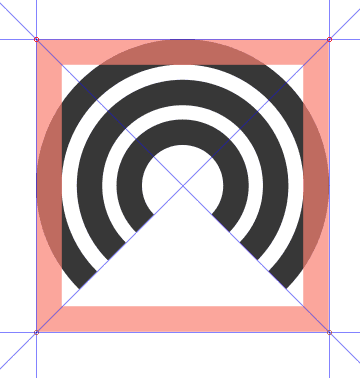
Now, go to Object > Transform. Go to the Rotate tab and input 45 in the Angle window. Make sure the degrees symbol is selected:
Finally, create a guide that snaps into the very tip of the rotated square.
Drag the guide from the top of the canvas ruler:
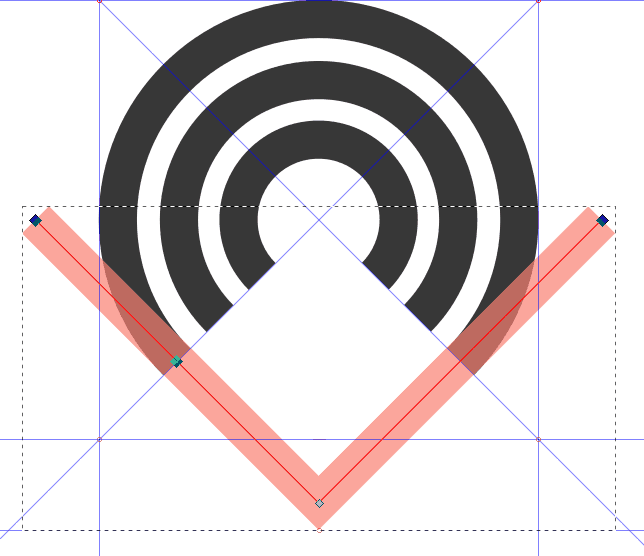
Step 3: Create the first “P” Stem of the Powell Triple P Logo
First, convert the square you created into a path by applying Path > Object to Path. Your square now has nodes.
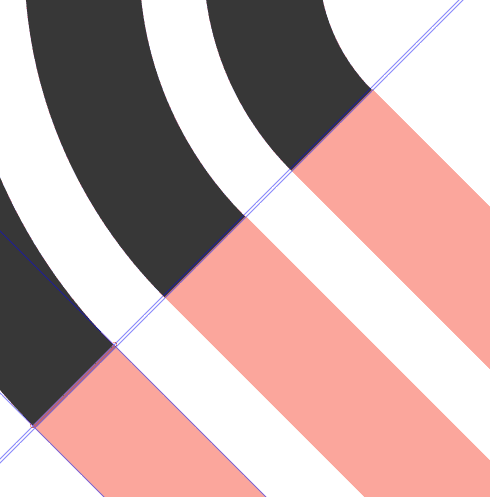
Now, add a node to the part of the square (now path) right where the stem part touches the circle stroke. Double click on the spot to which you want to add the node. Use snapping to add the node precisely:
Next, to create the stem, let’s delete some path segments.
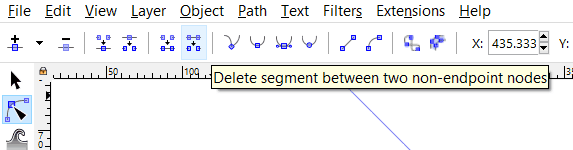
With the Node Editing tool selected, pressing SHIFT, select the top left nodes of the side of the 45 degree angle square:
Now, go to the node editing controls on top of the canvas and select Delete Segment:
With that segment deleted, do the same thing for the top right segment.
Once deleted, select the two nodes that run horizontally through the center of the former square and delete them (use the BACKSPACE key):
You now have your first “P” stem:
Finally, duplicate the stem and convert to guides (Object > Object to Guides). The guides will help us position the next two stems.
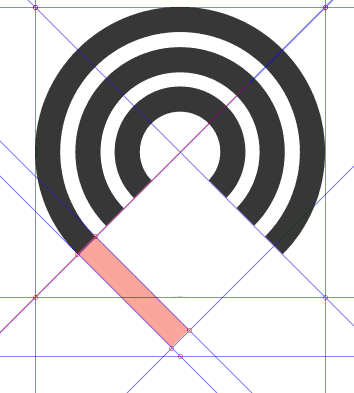
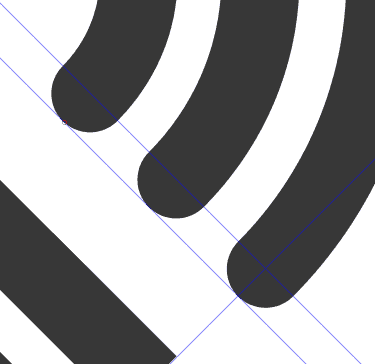
Step 4: Create Rest of Stems
Duplicate the stem you have, then move along the guides to connect with the inner circle. Be sure to enable Snap to Guides.
Zoom in with your Magnifier tool to make sure the stem aligns perfectly with its corresponding circle. If the connection is not completely aligned, just snap the node to the guide intersection to align.
Repeat for the smaller inner circle:
Finally, select each circle with its corresponding stem. Go to Path > Union to create a single path:
You now have the “P”s completed.
D. Create Rounded Caps for the Top Part
Step 1: Create Rounded Caps for Inner Top Circle
Zoom in to the top right end of the inner semi-circle.
Now turn to the Circles and Ellipses tool.
With snapping enabled, visually position your cursor in the middle of the stem.
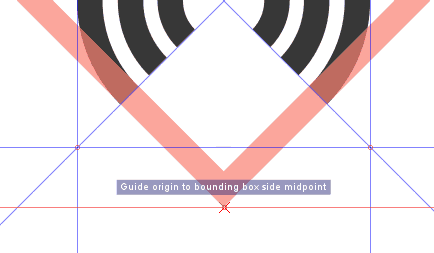
Pressing CTRL + SHIFT, drag a circle that fits as closely as you can to the entire stem length. Use your Select and Transform tool to move and drag your circle to adjust its dimensions to the stem.
Let it snap to “Bounding box midpoint to guide.”
Step 2: Create a Guide for Positioning Next Caps
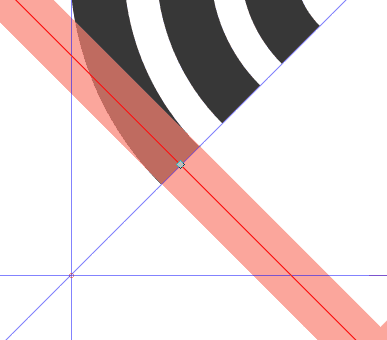
Now, drag a diagonal guide from the bottom left corner of the canvas.
Zooming in, position the canvas just touching the bottom of the cap circle. Let the circle snap to the guide.

Step 3: Duplicate Cap Circles
Now, duplicate the first cap circle and position in the next stem. Repeat for the final stem:

Step 4: Apply Union to Create a Single Path
Select a stem with its corresponding circle cap. Apply Path > Union to create a single path:
E. Create Caps for Bottom and Finish Logo
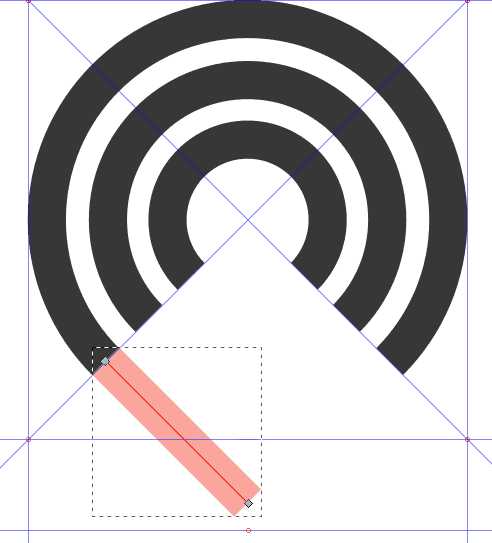
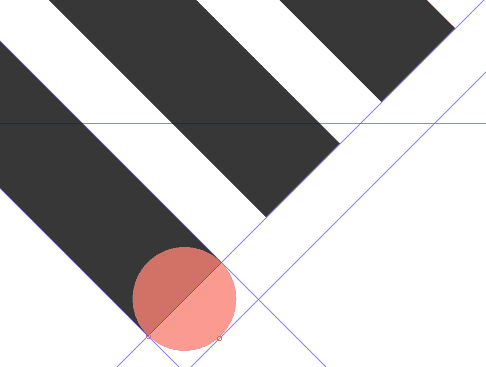
Step 1: Create First Circle Cap for Bottom Stem
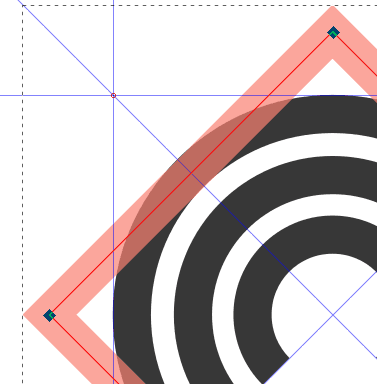
Create a circle, using the same techniques you used for the top caps.
Go ahead and drag a diagonal guide from the top left corner of the canvas and snap to the bottom of the circle cap:
Step 2: Duplicate and Position Rest of Caps
Now, duplicate and position the caps of the two remaining stems, as you did for the top caps.:
Step 3: Apply Union and Finish Logo
Now, select each stem with its corresponding cap and apply Path > Union. Repeat for each stem.
Disable guides (View > Guides).
You now have a vector version of the Powell Peralta “Triple P” logo:
Because you now have vector version, you can apply any style you want to the logo, like this:
You can even add strokes to adjust the gap between each “P” shape:
Download the vector version of the Powell Peralta logo as a PDF file below (you can edit the file on your favorite vector software):
Free eBook
Design Fundamentals for AI Creators


About the Author:
Ruben Ramirez teaches digital media in college and started Self-Made Designer to share his knowledge of graphic design. He is also a self-taught designer.